WordPress gives you the option to organize your content by specific categories. This is a great way to let visitors know what your posts are about and helps with site navigation. Today, let’s go over how to create categories in WordPress, assign them to posts and add them to menus.
Adding Categories
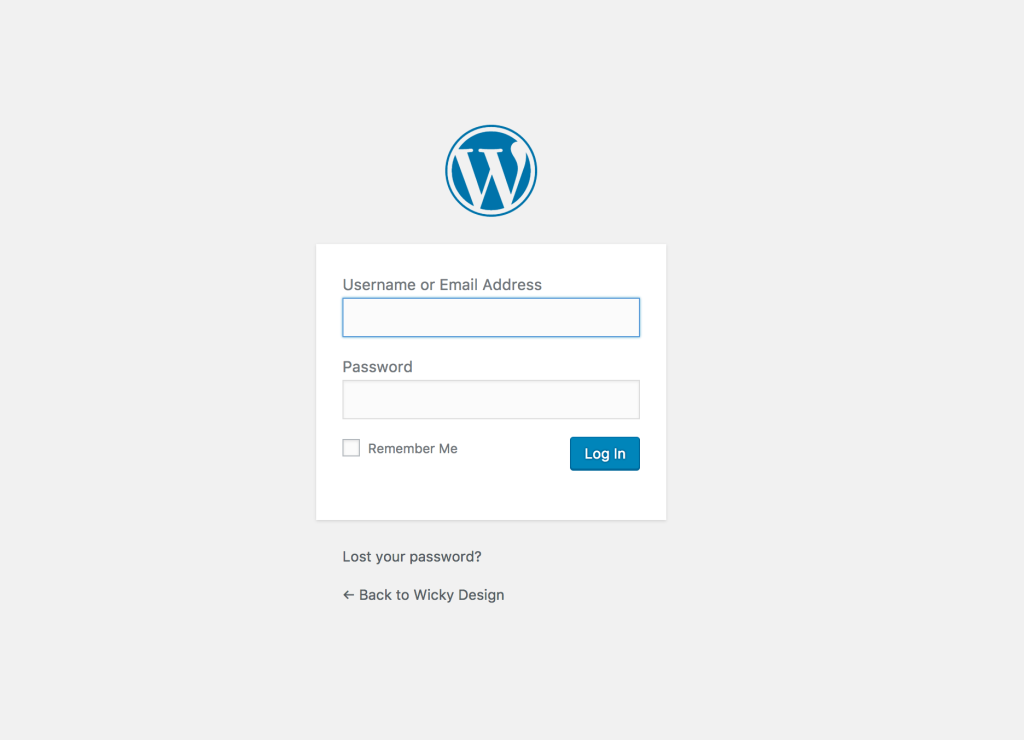
Login to your WordPress dashboard:
From the left side menu, select Posts > Categories. This is where you add your categories. To add a new category, you’ll want to fill out the fields shown in the graphic below. I’ve used the category “WordPress Themes” as an example.
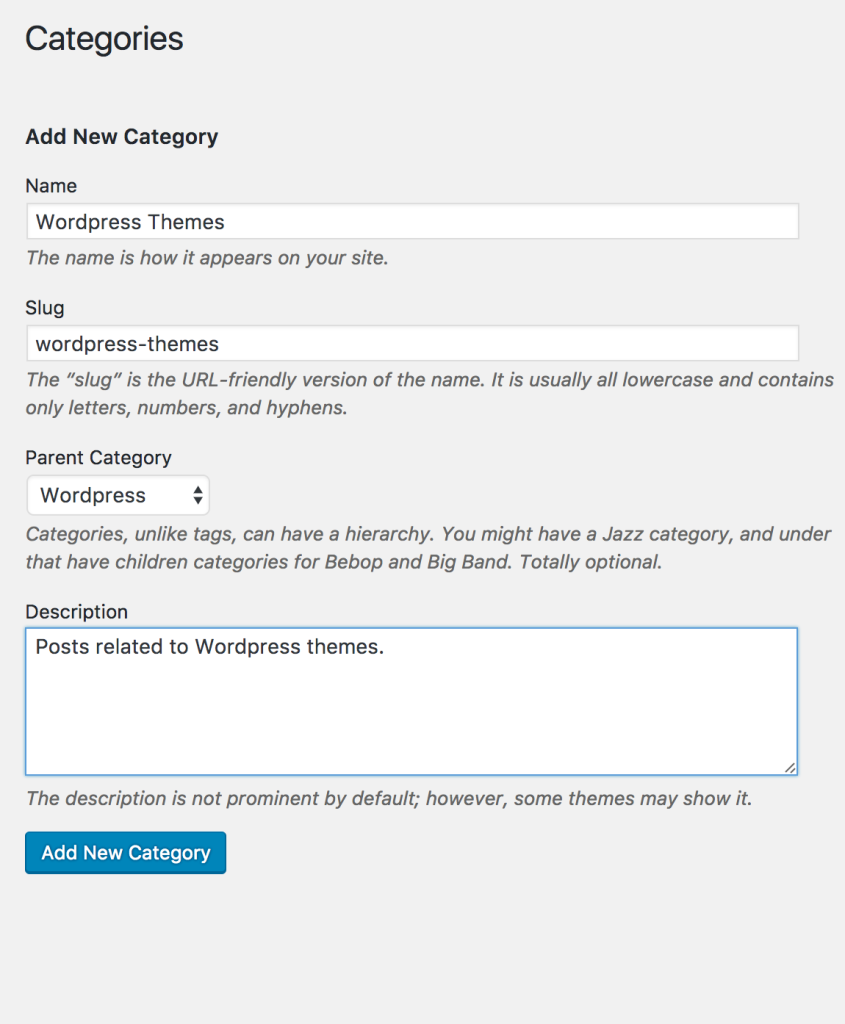
When you are finished editing these fields, click the “Add New Category” button.
Some tips for creating categories:
- Keep category titles short.
- Use Parent/Child categories to group related items.
- Remember that posts can fit under more than one category.
Assigning A Category To A Post
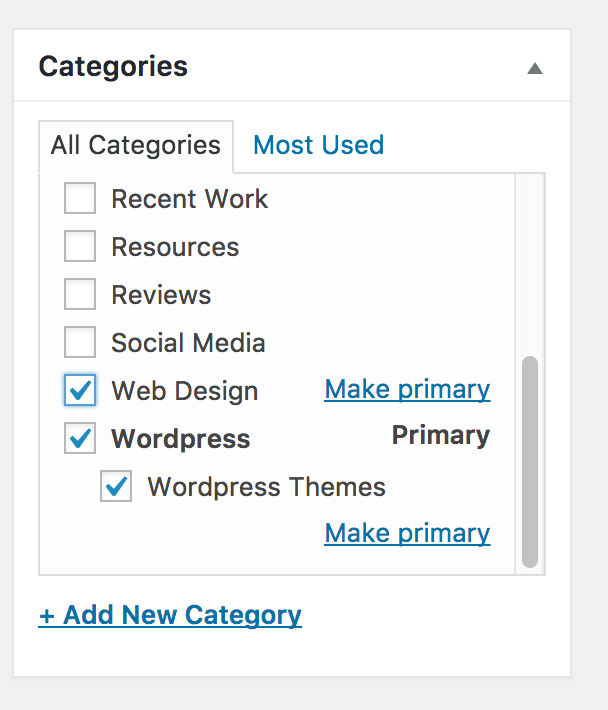
To assign a category to your post, navigate to the Categories section of your blog editor, located in the right sidebar. Simply click the checkbox to categorize your post. If your post falls under more than one category, you can select which category is the primary. You can also add new categories here by clicking the “+ Add New Category” link.
Adding Category Pages To A Menu
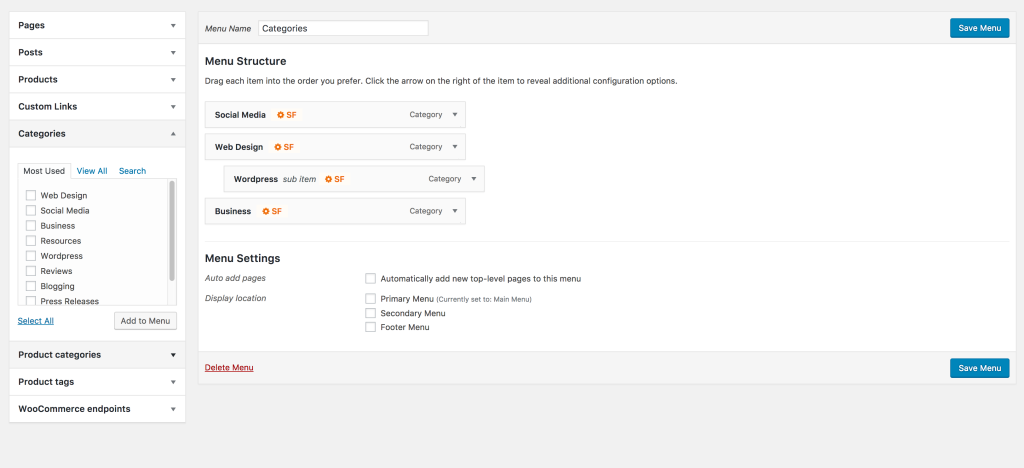
You can add your categories to menus to make it easier for your visitors to find content related to a specific topic. To add categories to your menu, go to Appearance > Menus, then select the appropriate menu. In the dropdown on the left, select Categories. This will show all the categories you have created. To add to your menu, click the checkbox, then the Add To Menu button. You can rearrange the categories by dragging and dropping on the right. Don’t forget to click the blue Save Menu button once you’ve finished.
That covers adding categories in WordPress. Categories are an easy way to keep your content organized and improve your site’s navigation. I hope you found this tutorial helpful. For additional WordPress tutorials, check out our resources section.
