Images often account for the most downloaded bytes on a web page, which is why it’s so important to use images that are optimized for your blog posts. Uploading large images to blog posts will make your pages load slow and take up tons of space on your server. Today, we’ll go over easy ways to optimize images so your blog will continue to run great.

Resizing in WordPress
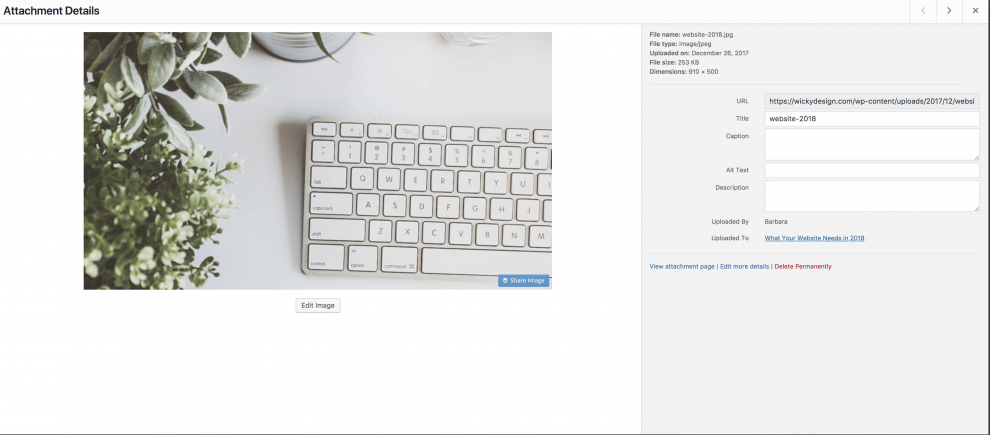
An often overlooked feature in WordPress is their built in image editor. If you login to your WordPress Dashboard, then click the Media tab, it will pull up all of your images. Click on any thumbnail to get a closer look. At the bottom, you’ll see a button that says “Edit Image”.

Clicking on that button will pull up the editing options built into WordPress. This allows you to crop, rotate and scale images to better fit into your blog posts.
Size you images to fit the content area they will be placed in. Meaning, if your content area is 800px wide, resize your images to 800px wide. There’s no need for anything bigger and a larger image will just take longer to load.
Resizing in a Graphics Editor

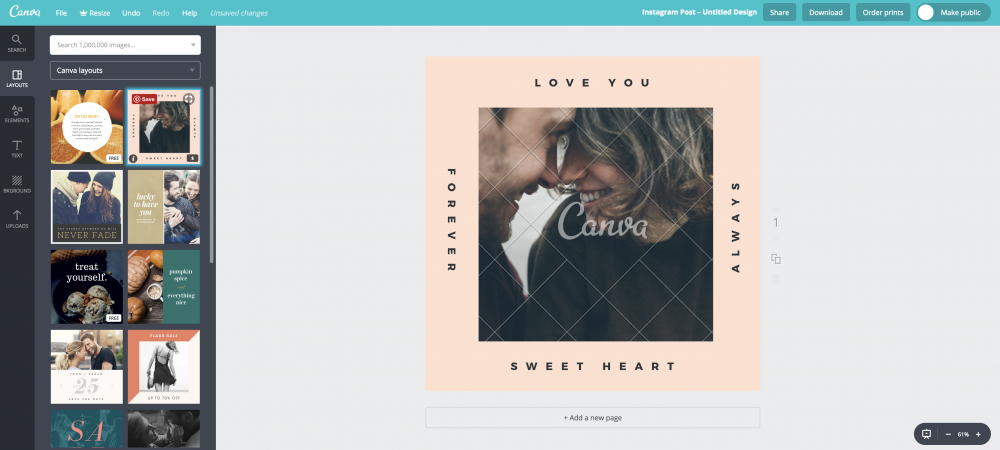
If you’re creating special graphics for your posts, it might be easier to optimize them before you upload. We use Photoshop to create our graphics, but if you don’t want to learn the in’s and out’s of a professional program, a great tool you can use is Canva. Canva is easy to use and even has some pre loaded image sizes built in to the platform (great for social media!).
We hope you found this article on optimizing images for your blog posts helpful. Be sure to visit our resources section for more WordPress tips.


