Creating a domain specific email address looks more professional and adds more credibility to your site. Most hosting companies give you the option of adding a few custom emails to your domain, but the webmail options they offer are awful.
If you’re already using Gmail for your personal emails, there’s an easy way to add your custom email address to your inbox. This will allow you to check multiple emails at once, keep you organized and make checking your email less of a chore. Read the steps below on adding a custom email to your Gmail inbox.

Before you begin the following steps. You will need your email settings. These settings can be found on your hosting control panel. If you’re using cPanel you can grab these settings by going to: Email Accounts/Configure Mail Client.
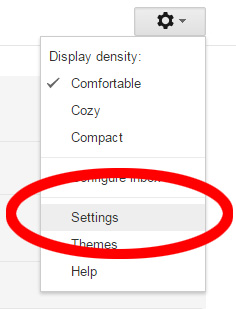
Step 1:
Click the settings button from the Gear Icon (located in the top right side)
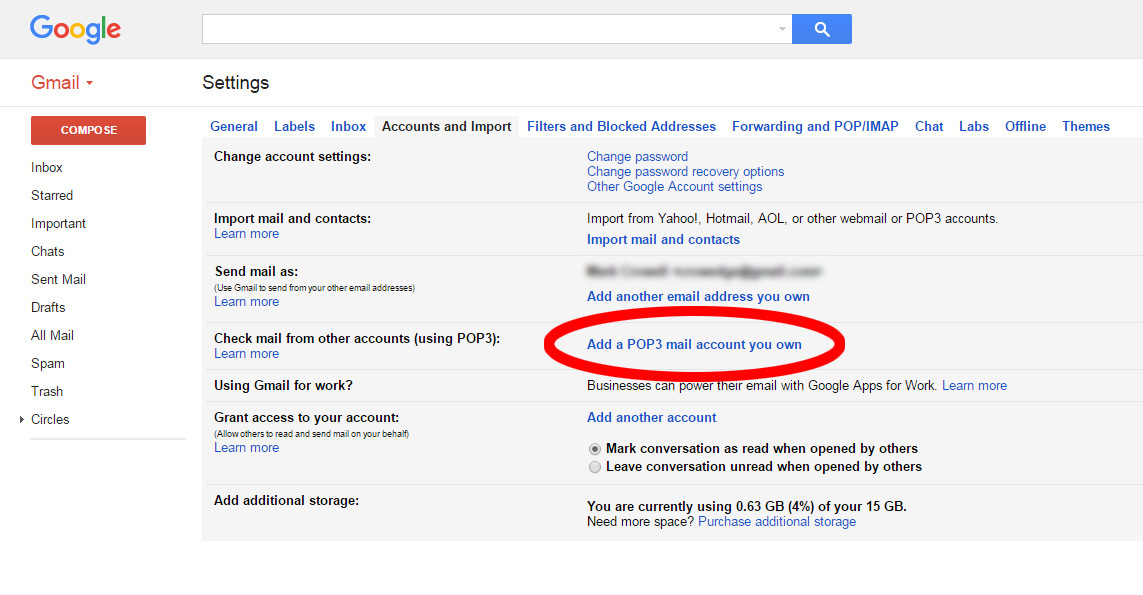
Step 2:
Click the “Add a POP3 mail account you own” link
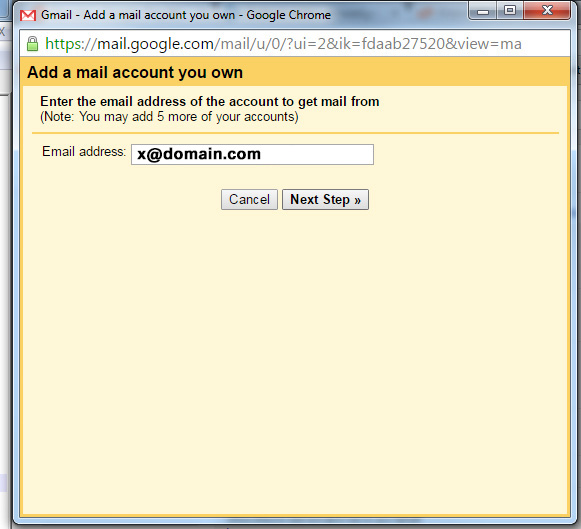
Step 3:
Enter your full email address (x@domain.com), Click Next Step.
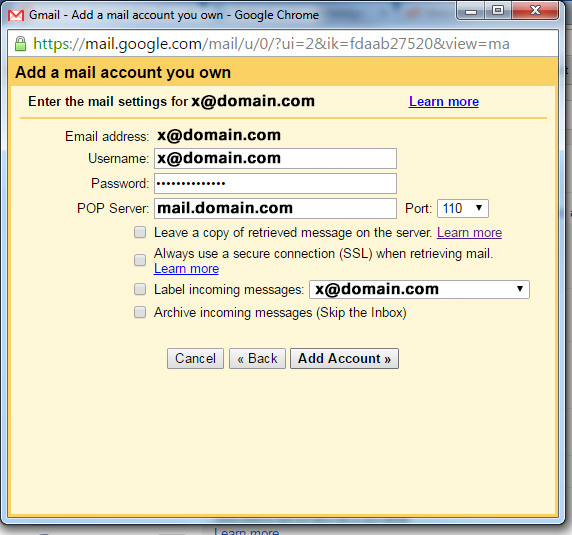
Step 4:
Email Address: Enter your full email address (x@domain.com)
Password: Enter your password
POP Server: Normally the POP server will be a mail subdomain (mail.domain.com)
Port: Use port 110 for non-SSL and port 995 for SSL.
Check the boxes that fit your needs.
Click “Add Account”
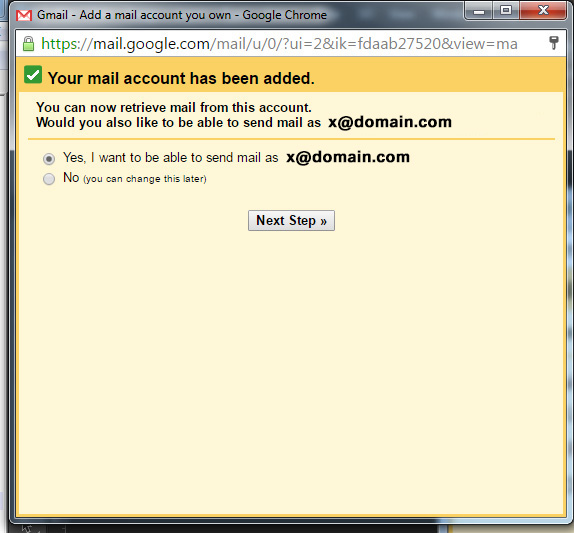
Step 5:
If you would like to send emails from your new email account from Gmail, continue to the next steps.
Select Yes and click the “Next Step” button.
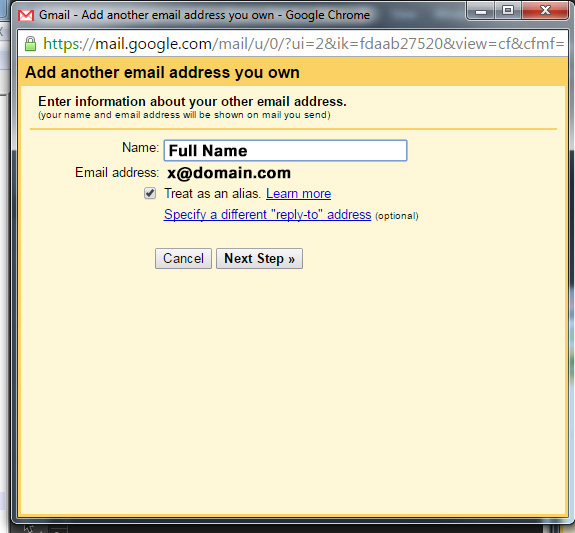
Step 6:
Type in your Full name
Check the box “Treat as an alias”
and click “Next Step”
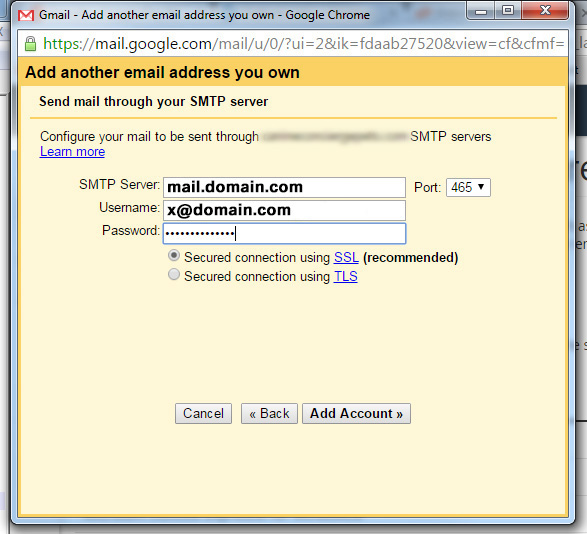
Step 7:
SMTP Server: Normally the SMTP server will be a mail subdomain (mail.domain.com)
Username: Enter your full email address (x@domain.com)
Password: Enter your password
Port: 465 for SSL and 25 for non-SSL
Check SSL
Click “Add Account”
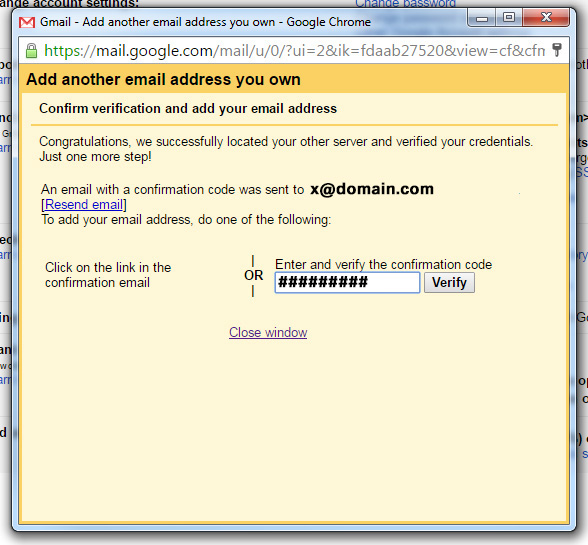
Step 8:
Next step is to verify your email account. You will need to login to your mail client or webmail to access the verification code.
After you copy and paste the code, click “Verify”. Now your Gmail account will have your new email account enabled.
When you compose a new email in Gmail you will have a drop down menu to select your new email account.
Cpanel Email Notes:
- IMAP email access coordinates between the server and your mail application. Messages that have been read/deleted/replied to will show up as such, both on the server and in the mail application.
- POP3 does not coordinate with the server. Messages marked as read/deleted/replied to in the mail application will not show up as such on the server. This means that future mail downloads with POP3 will show all messages as unread.
- Outgoing mail is sent using SMTP.
- We recommend using POP3 over SSL/TLS or IMAP over SSL/TLS since they provide increased security for your interactions with the remote mail server.
Download a PDF of this Guide!