The drag and drop interface built into WordPress makes it easy to create and change your navigation menus. Today, we will go over how to create a new menu that can be placed in a sidebar widget or in the footer of your site.
1. Creating the Menu
Login to your WordPress dashboard and go to Appearance > Menus. Then, click the link titled “create a new menu”. Give your new menu a name.

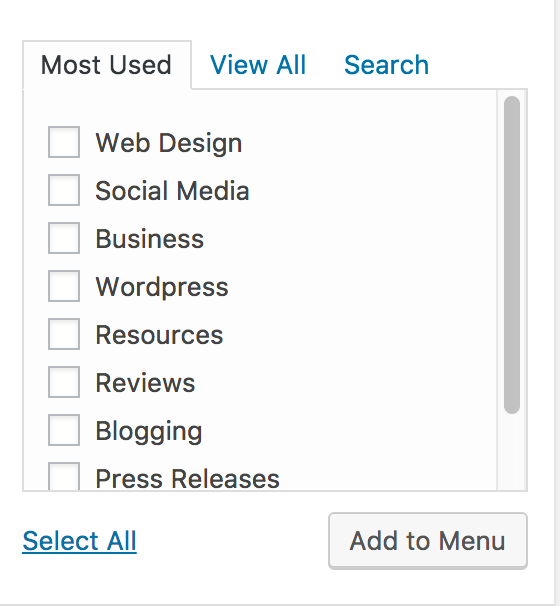
On the left, you will see different options for adding to your menu. You can add pages, posts, custom links or categories. In this example, we will be creating a menu that links to our different blog categories, so we will select the categories tab. This will pull up all the categories for our blog posts.
2. Adding Pages
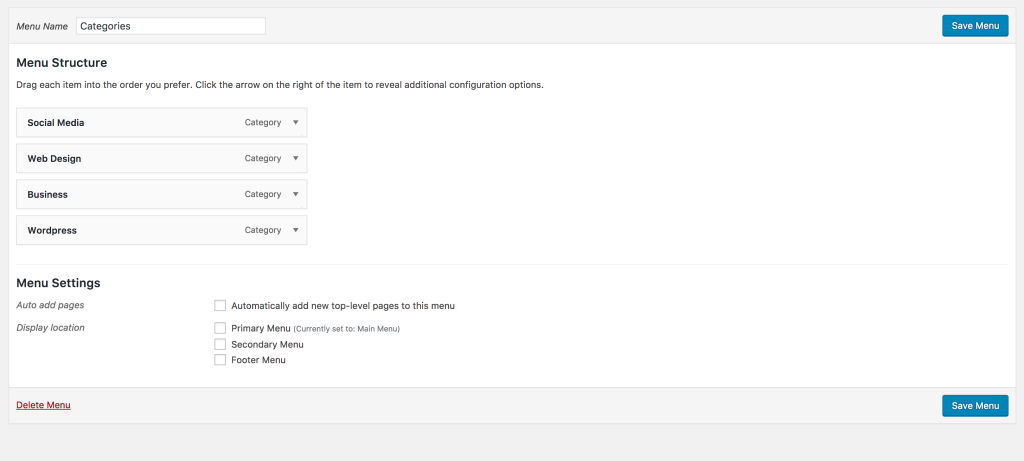
We will add to the menu by clicking the checkboxes next to the categories, and clicking “Add to Menu”. The categories will then populate on the right side.
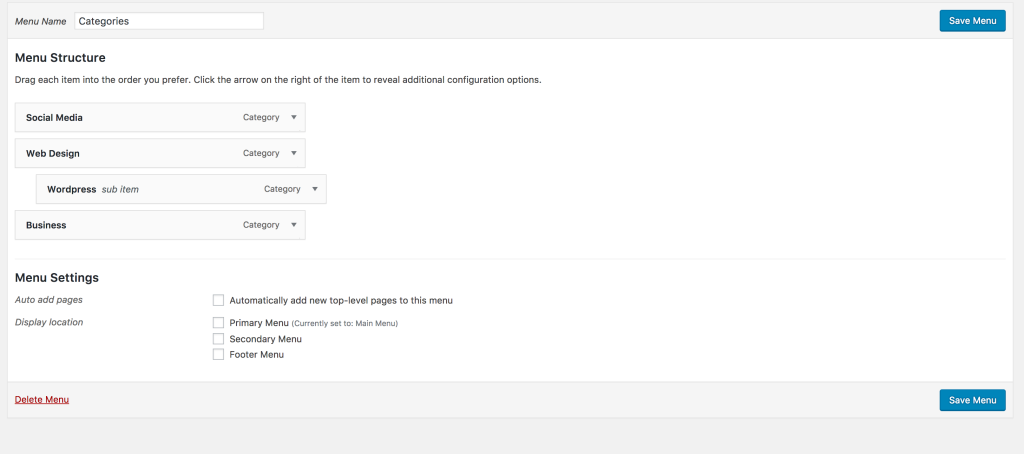
You can change the order of the links easily by using the built in drag and drop feature. Create a nested menu by dragging sub items under their parent.
Once your menu is set, click the blue “Save Menu” button.
3. Adding Your Menu To Your Sidebar
Go to Appearance > Widgets. Select the “Custom Menu” widget and drag it into your sidebar, footer widget, or wherever you want to place your new menu.
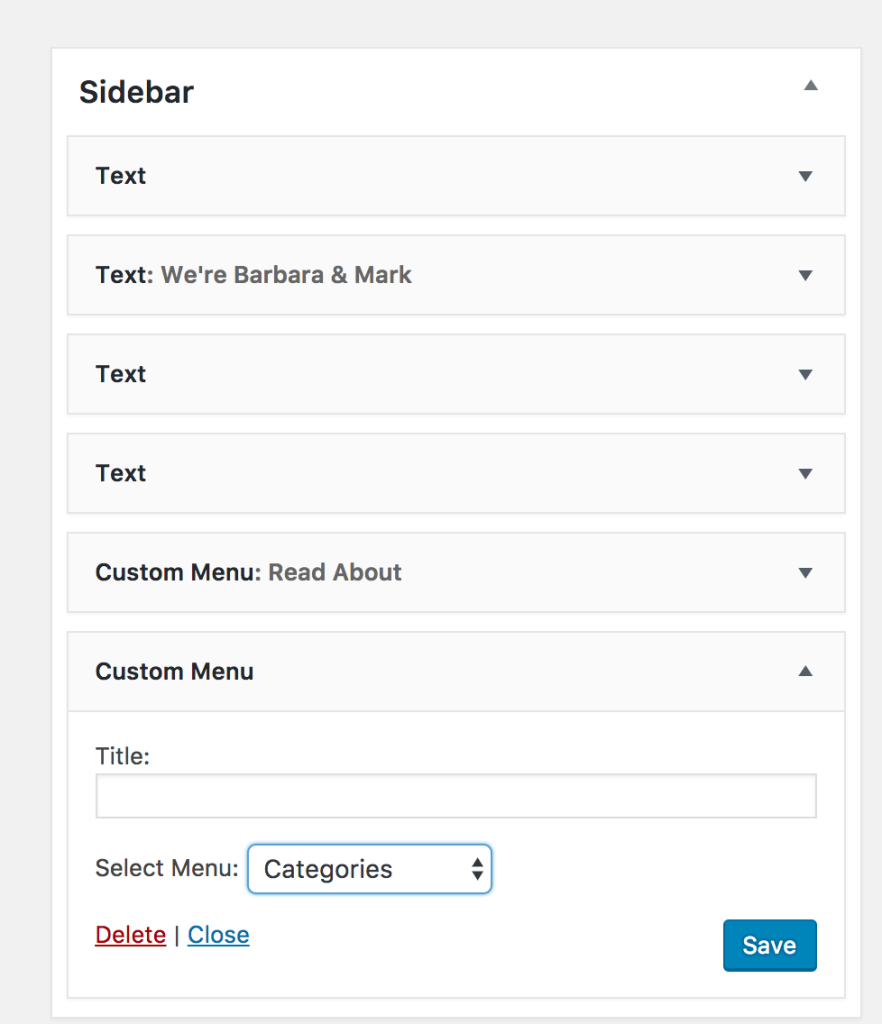
Give your new widget a title, then in the dropdown, select the new menu you just created. Then click the save button.
That’s it! We hope you found this tutorial on creating new menus in WordPress helpful. Be sure to visit our resources section for more WordPress tutorials.